Installing Rizoma Clip-ons on the Suzuki SV650.
Review by Tom Monroe.
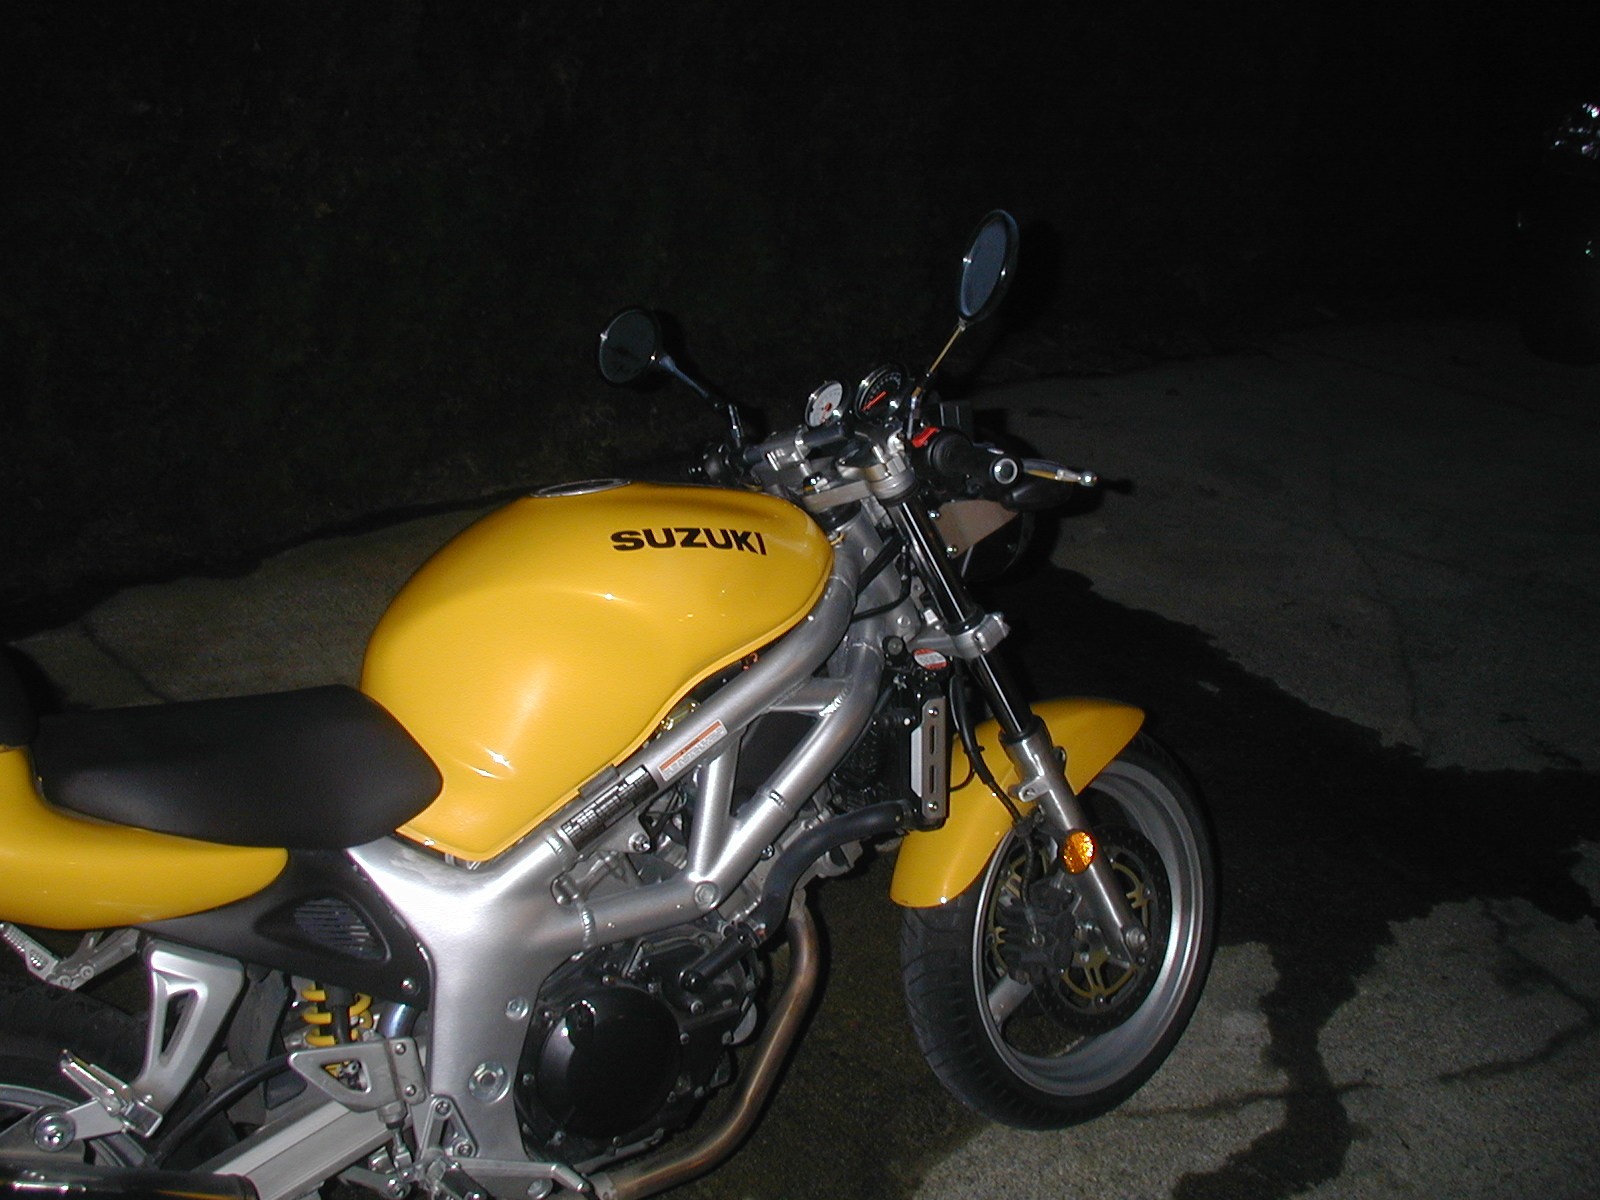
The Suzuki SV650 comes in two flavors. A Standard (commonly referred to as Naked) "SV650", and the sport (SV650s). There are several differences between the two models of bikes, including the SV650 having handlebars, while the SV650s uses clip-ons.
The clip-ons on the sport version cause the rider's upper body to lean forward further, which reduces wind resistance, and marginally rebalances the weight towards front tire. This stance is more of a sport-bike stance, and its considered "more aggressive". Personally, I think it looks cool, too.
Although in many senses the Sport and Standard models of the SV650 are very similar, the two bikes use different components in the triple clamp, which makes it difficult if not impossible to simply mount Clip-ons from a sport model onto a Standard.
Rizoma is an Italian company that manufactures a Clip-on conversion kit that is designed to allow you to easily convert your bike. I ordered a set from Joe Witherspoon at Motorstrano. Joe was very helpful, and did a stellar job keeping in touch via Email.
http://www.motostrano-store.com/sv650clipons.html
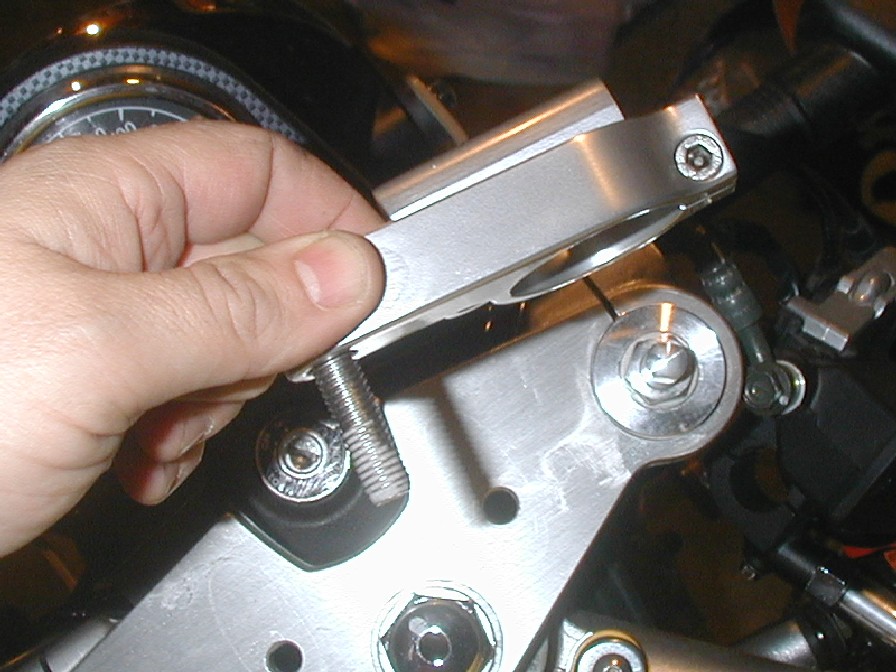
There are two parts to each side of the kit. A bracket that mounts to the triple-clamp, and the handle. Unfortunately, Rizoma doesn't include any installation instructions, however the installation was pretty simple. Anyone with even a small amount of technical skill and a little determination should be able to perform this upgrade.
What you'll need:
Set of Metric Wrenches, especially 8mm, 14mm and 16mm.
(A metric socket wrench set won't hurt).
Set of Hex Wrenches.
A Drill with 1/4" and 1/16" bits (drill press preferred).
#2 Phillips Screwdriver.
Grip glue.
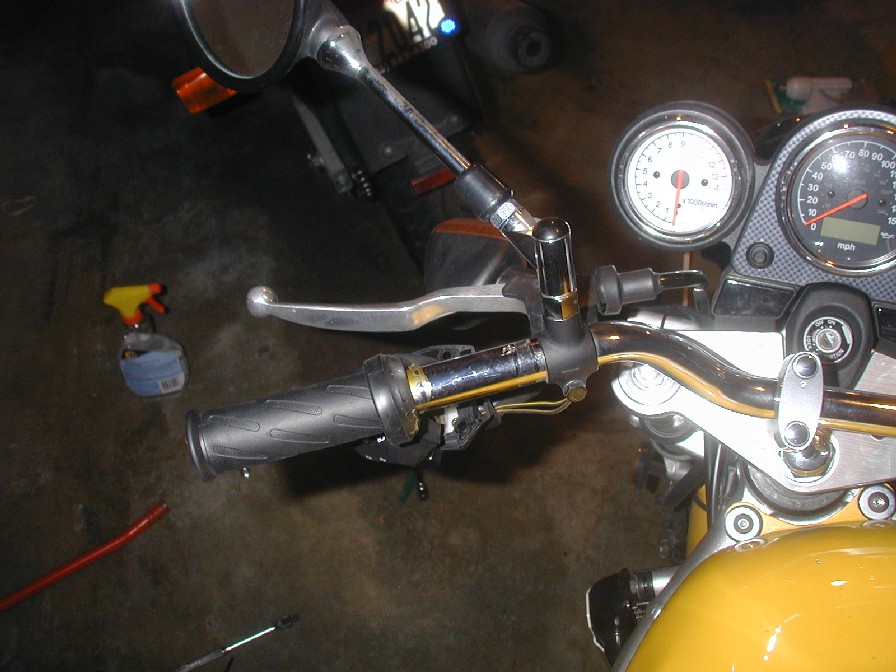
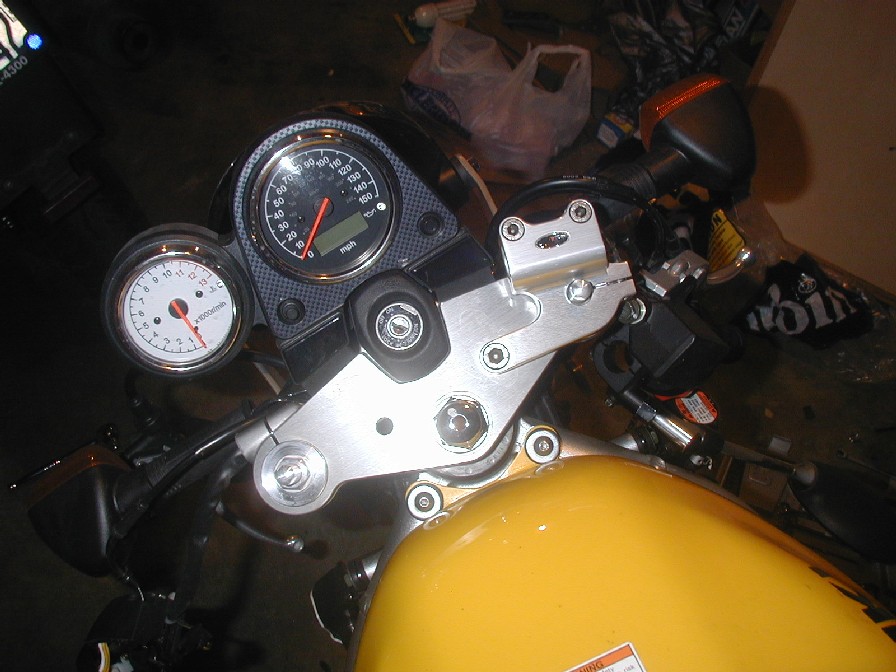
The first thing you'll need to do is to remove the handlebars. On the right side, unscrew the two screws that hold the throttle control together, and it will separate into two pieces. The front brake, and turn signal level (and mirror mount) are clamped down by two 8mm head bolts.
On the left side, the turn signal and choke control has a similar set of screws, and the clutch lever/mirror mount is clamped down by another two 8mm head bolts.
Next, you'll need to wrestle the left grip off of the bike. This grip is held on with glue, however since the bar is chrome underneath, you should be able to work the grip loose eventually. I've heard of people cutting the grip off, and thats fine, as long as you plan on replacing it. I got mine off by rolling the top of the grip down as far as I could, then tugging on it until it finally came off (it took me a little while!).
Once the left side grip is off, unbolt the handlebar clamp using a 14mm wrench on the nuts on the underside of the triple clamp. The two bottom bolts hold the handlebars on.
Now, with the left grip off, and the handlebar removed from the bike, you can move the handlebars to the left, to get enough slack on the cables to slide the remaining controls off the handlebars.
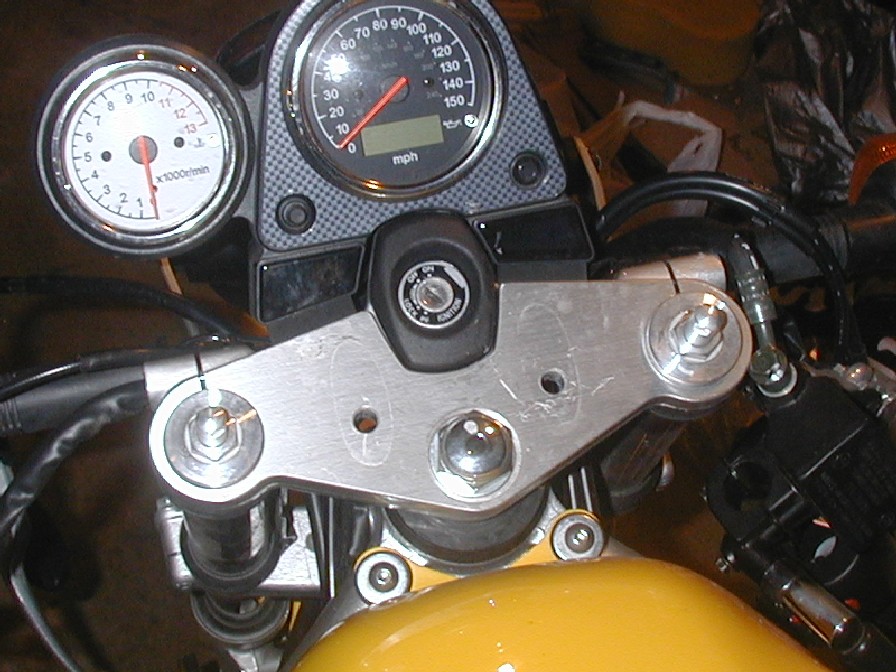
Now that you've got the handlebar clamp completely removed, you might want to polish the top of the triple-clamp. (or at least just clean it up a little!)
Next, insert the bolt from the right clip-on into the corresponding hole in the triple-clamp. (it doesn't make any difference which side you do first).
At this point, it becomes pretty obvious how they fit on the bike..
The kit comes with locking 16mm head nuts. For obvious reasons, you'll want to make sure they're torqued properly. You'll be glad you own a hex-key wrench set about now.
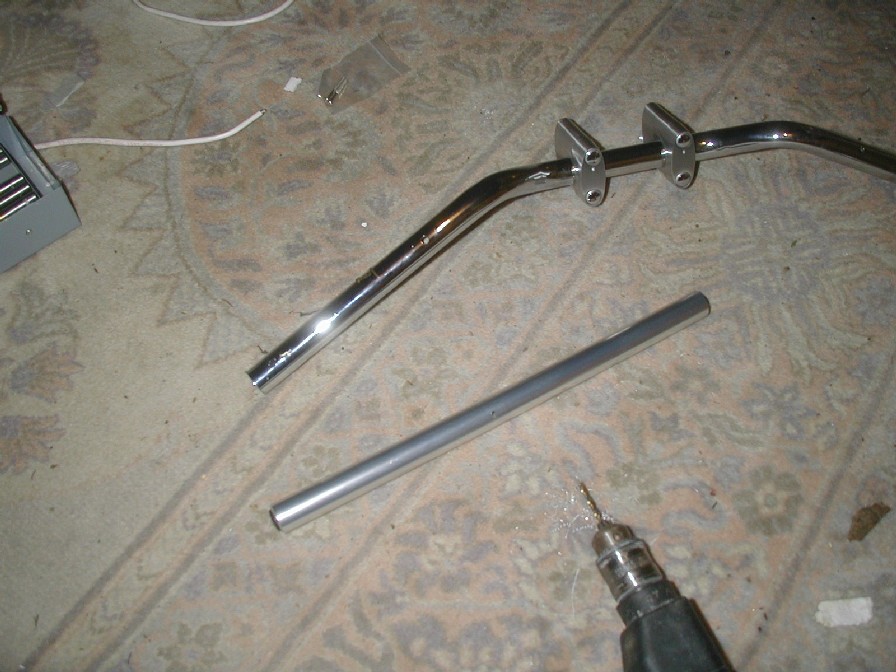
Once both side clamps are attached to the bike, its time to attach the controls to the bars. It was at this point that I made the discovery that the small holes on the handlebar were not present on the clip-on bars. The holes are used to keep the controls from rotating. There is a small plastic knob that holds the both the highbeam control (on the left), and the engine cutoff switch (on the right). This is type of thing that really makes me wish that Rizoma had bothered to add instructions. If you're like me, when you get something new, and you discover that you need to drill a hole in it, before you do, you start to wonder if you're doing everything correctly.
I don't have a drill press, so that made a little bit of a challenge. I decided to put the hole in the exact same position as the hole on the handlebars, and I started by making a pilot hole first (about 1/16"). Then I drilled a 1/4" hole. Of course the same procedure must be done on both sides.
Now the bars can be mounted on the bike. I found it easier to hold the controls in place, and slide the bar up through them into the clip-on clamp. Once the controls are on the bars, you will probably find that you need to adjust them so all the controls have proper clearance. Don't forget to glue your left grip back on.

Once everything is back in place, make sure you torque every bolt - otherwise you're most like to find the problem on the freeway - where you can't afford to!

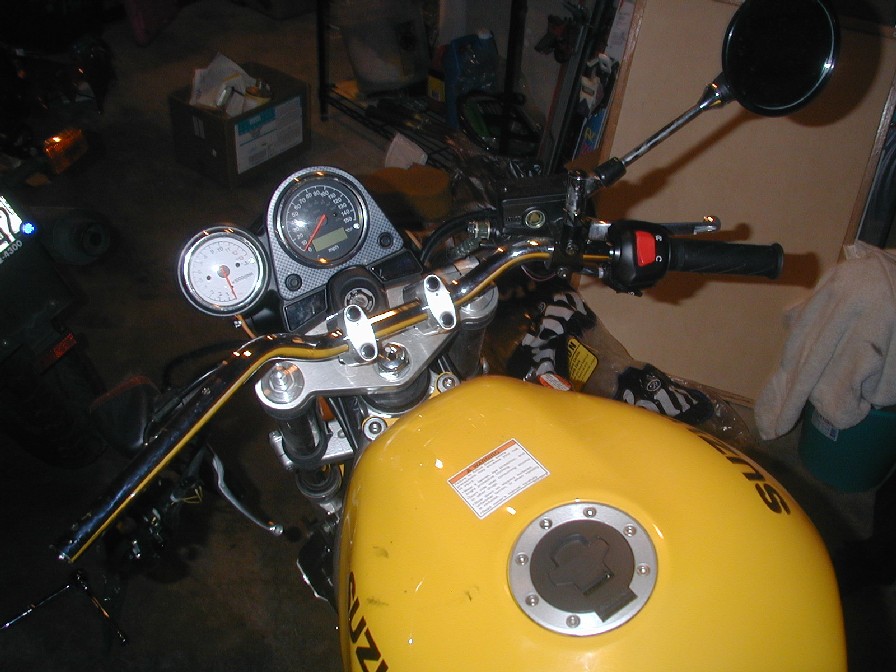
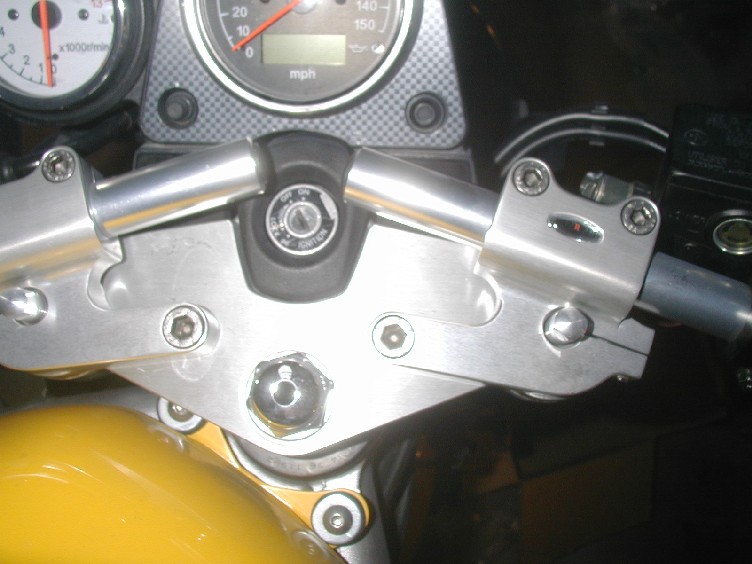
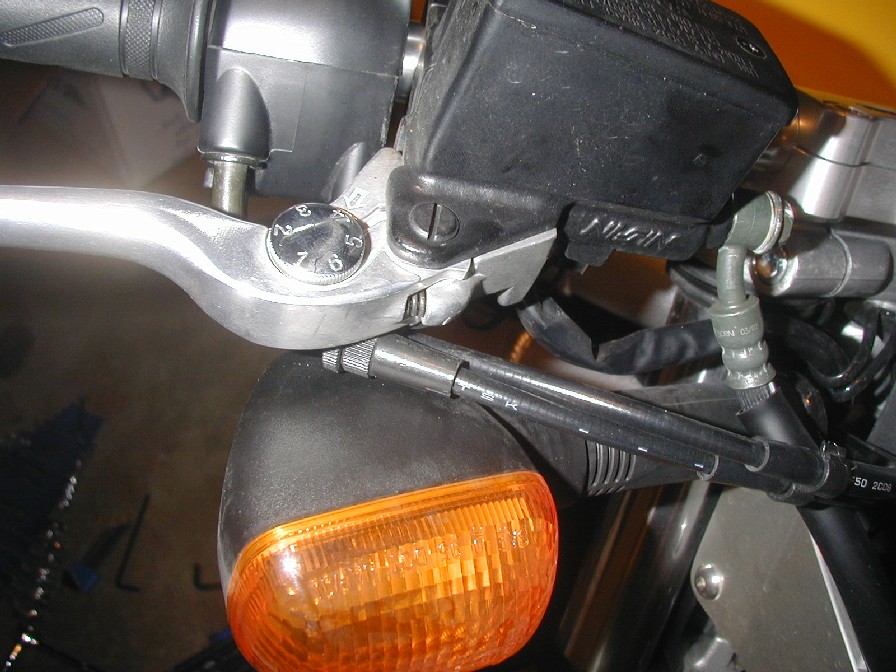
You may also find that you need to adjust the clipons. Personally, I found the position of the grips to be way to far out. Any time I would ride for more than a half hour, I would wind up with my wrists aching. I found that I was able to alleviate this by sliding the bars closer together. Unfortunately that means that they now obscure my view of the idiot lights on the dash. I may saw the bars down to shorten them. You can see in the picture below that I've moved them as close together as I can without them interfering with the Ignition switch.
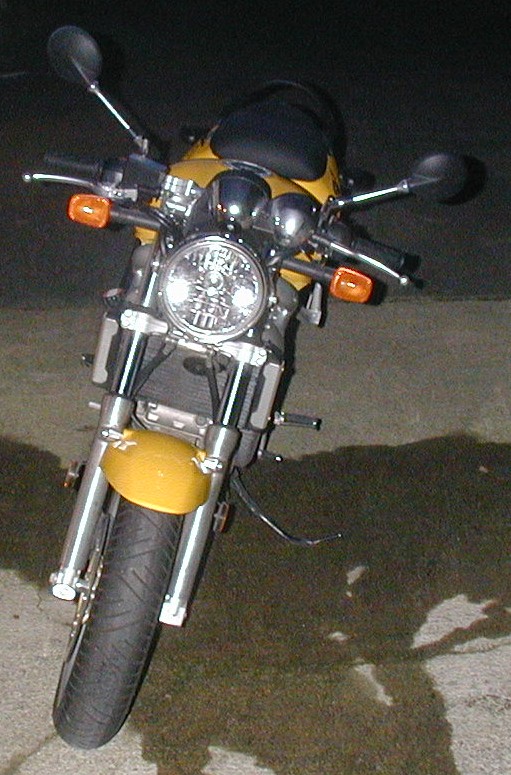
My biggest disappointment came when I realized that these clipons do not replicate the SVS riding position like I'd hoped they would. the angle of the bars is wrong, and won't clear the windshield with SVS bodywork installed.
Pros:
These Clipons look good. They are relatively easy to install. Took me about an hour and a half, and I was taking my time... no messing with the forks, or doing anything that can't be easily undone later if you change your mind. In my opinion, they are at least as good quality as stock parts, if not, better, and they improve the overall looks of the bike.
Cons:
Price seems a little bit high (just a tick shy of $200). As I mentioned, lack of instructions. There is also a little bit of a clearance issue with the control cables and the turn signal stalks. The controls must be rotated back slightly to clear the turn signal stalks. (I plan on converting my bike into an SV650S, which uses a different turn signal, mounted on the fairing so this isn't that big of a deal for me).
Overall, I would definitely recommend these to anyone looking to give their Standard SV650 more of a sport look. In no time at all, I got accustomed to the riding position, and A big plus is the factor that everything you do can be undone if you decide you don't like the new look or feel.